Saturday 26 February 2011

Cookie's cookies

This week's tea time treat in the KunstCentrum (art centre) was chocolate chip and hazelnut cookies! And here's the recipe:
2 cups flour
1/2 tsp baking soda
1/2 tsp salt
3/4 cup melted butter
1 cup brown sugar
1 tbsp vanilla essence
1 egg
2 cups chopped milk chocolate and hazelnuts

*mix the flour, baking soda and salt and set aside
*mix sugar, egg, melted butter and vanilla essence until light and fluffy
*add dry ingredients
*make balls about 2-3 cm round from the dough and place on a baking tray 5 cm apart
*bake for 15-17 mins at 165C until lightly toasted round the edges, for soft centres

...mmmm... particularly delicious with chai tea!

papermaking workshop with children from the Rehoboth School, Stavenisse (workshop papiermaken met kinderen van Rehoboth Basisschool, Stavenisse)

On Thursday we had a group of 22, 8 and 9 year olds, from the Rehoboth Basisschool, Stavenisse.  The theme that the children are working on in school is China, so Francesco began the morning by discussing Chinese art and the importance of symbolism and leaving 'empty' space in oriental art. The children had learnt at school that the art of papermaking was born in China and I could show the group the kind of bark that is used in eastern papermaking.  
The best bit, of course, is the making something part! As a group we decided to make white paper, though I did add some colour so that the different pieces were clear to see in the new sheets.  We started tearing up old watercolour and scrap paper.
Then the new sheets were formed. Everyone made a long quene, and one by one made their own paper.


Then we hung them up to dry...

Friday 25 February 2011

new paintings from the art class (nieuw schilderijen van deelnemers cursussen)

This week's featured artists are Frank and Martine from the advanced class! The mototcyclists above are from Frank and were painted with acrylic on a canvas measuring 1 x 1.2m. From the beginning the painting conveyed energy and movement.  Frank is himself a motorcyclist so he had a good feeling for the subject. It's impressive to see them on a canvas of this size!

Martine made this oil painting of two sheep. She cleverly set it up by painting the whole canvas with red, a kind of deep, pinky red.  Then, when she covered this with the dark blue/brown/black background, the warmth of the red still showed through.  The striking thing about this painting is of course the contrasts.  The horns are well defined against the dark background.  

Tuesday 22 February 2011

A book of Francesco's etchings

We've just picked up a photo book that we made of Francesco's etchings .  He's made more than 125 etchings from mostly Dutch towns and we thought it was about time that they were well presented together. We also included a few photos of Francesco inking the plates in and printing the etchings.
We're particularly pleased that we choose thicker photo paper for the book pages, because the etchings come across really well.

We also included some information about Francesco and the etchings the that he's made.  I particularly like the photo of the Tholen etching plate being inked in ready for printing.
And finally, the back cover. An etching is born!

Sunday 20 February 2011

paper swap with etsy's papermakers

I recently took part in a paper swap with a team of papermakers on etsy.  I sent off about 20 sheets of paper I'd made from recycling etching off cuts, telephone books and tulip petals. What I received yesterday was an envelope of treasure to a papermaker. 
The pack included paper from  milkweed, moving boxes & autumn leaves, blue jeans, abaca, cotton linters, paper with red clover inclusions, paper with shredded money, and paper with tea & rose petals. This one below from Linda McCausland is abaca with eel grass inclusions and is beautifully transparent...
...and this one below from Judy Funk I can plant! I'm not sure what the bird is though? At the moment I just keep studying them all and enjoying how they feel (this is maybe only something a papermaker can understand!), but I hope to use them. Watch this space... 
Thanks to everyone who shared their talent! And a special thanks to Elena Siff for arranging it all!

piece of cake: ginger cake in the Kunstcentrum (art centre)

On Saturdays we open the art centre in the afternoon so that people who attend our classes during the week can have a bit of extra time to work on their art.  It's not really a class, but Francesco and I are around to give tips and advice. Anyway, I like to create a welcoming atmosphere which includes cake! This is one of my favourites: ginger cake, and I found a great recipe for 'easy peasy ginger cake' which is what it says it is, easy peasy. I used golden syrup instead of treacle, because I've got no idea where to get treacle here in the Netherlands, but it's so tasty it never lasts a day!

Saturday 19 February 2011

2 new etchings


These are literally wet off the press! An etching of 2 crows and an etching and aquatint of a seagull.  I love the majesty of these birds...

Friday 18 February 2011

zen mind, beginners mind: first paintings from the beginners art class

I chose the title because it's a phrase that points to the open state of mind that you have when you try something for the first time. Before your mind fills up with ideas about how it should be, full of conceptions. That's the best way to start painting.  These are a random selection of paintings from the beginners art class. For most, the first time they'd experienced working with acrylic paint on canvas.  Everyone was given the same picture as a starting point to get used to the new materials, and this is the result after the first 2 lessons.

new birdy watercolours

 
This little guy's all fluffed out with his pretty feathers.  He's a Goldfinch and his brightly coloured face make him ideal for a watercolour painting! This one below is a Tufted Titmouse and I like the 'burnt sienna' feathers on his breast: 

Wednesday 16 February 2011

paintings from the art classes (schilderijen van deelnemers cursussen)

This painting was made by Gina who has been painting with watercolour with us for the past year or so and decided this course to try her hand at acrylic.  For those who are not up to speed with the Dutch Royal family, this is Queen Beatrix, and the likeness is uncanny! Especially those eyes!

Jessica was inspired by a photo in a magasine and wanted to try and capture the colours and atmosphere.  I love the effect. It's a painting to loose yourself in!

Tuesday 15 February 2011

all you need is love x

Everyone can do with a hug, Valentine's Day or not. A warm embrace to say you care... I made these etchings for the times when you can't be there in person or to remember a precious occassion. I hope you too have a Happy Valentine's Day!


Saturday 12 February 2011

2 new etchings


Inspired by the beach and the sea, even though it's winter(!), I've just finished and listed 2 new etchings with aquatint. I really enjoy creating an aquatint. I think it gives etchings a great atmosphere.  It is a bit scary though when the plates are in the acid bath, because if it's in there too long the aquatint will be too dark, and if it's too short, the whole process would need to be repeated. But I'm happy with the result!


Saturday 5 February 2011

I've been blogged about!

I'm feeling very honoured and excited about a blog on Dutch Handmade. It's a story written by the very lovely Nelliana of Studio Snowpuppe about my creative journey and the birth of atelier28.  Nelliana is also a non-practicing architect exploring a more creative life as an artist...and she shares a passion for paper and paper folding! I hope we can meet up some time! Obviously kindred spirits!

how an aquatint is made on an etching

This is an etching that I've already made, and you can see how that was done here. I want to add an aquatint to the plate.  This gives the plate a kind of rastered effect which I think will add some depth to the scene. The plate is first thoroughly cleaned with turpentine and methylated spirit.

The plate is then dusted with resin dust from the pine tree. The plate is very delicate now. Any imperfections in this layer will be seen in the etching. This layer is burnt onto the plate with a heat source placed under the plate. It then looks like this:

After it's cooled, a spirit varnish layer can be applied to the plate where the raster is not wanted. In this case I would like the sky to remain clear.

The reverse of the plate is protected in the same way as it was when the etching was made and placed in the acid bath. However this time, the exposure to the acid is much reduced. In this case only 4 minutes. The plate is then washed and the blue layer removed with methylated spirit. This is what the plate now looks like:

The plate is ready to be inked in and pulled through the etching press, again just as it was in the previous section:

This is the result:

I also tried sepia ink, which I think I like more and can be seen already in my etsy shop!

Thursday 3 February 2011

how an etching is made part 2 (hoe een ets gemaakt wordt deel 2)

In part one I prepared the copper plate with the hard ground. It's now dry and the engraving process can begin. I've made a sketch of roughly what I want to make so I can begin. I often use a magnifying glass. I'm not engraving into the copper, I'm just removing the etching ground where I want the acid to bite into the plate.

The design is completed and the reverse of the plate is covered with a protective layer so that the acid doesn't bite into the back. The plate is carefully placed in the acid bath to prevent air bubbles forming and is propped up on a wooden block so it doesn't just lie flat on the bottom. In this case I left it in the acid for 1 1/2 hours because the bath was quite cold. If it's warmer then the reaction is faster and it can be removed earlier. The plate is thoroughly rinsed under the tap.

Before the etching ground is removed, an etching needle is used to check that the engraving is deep enough in the copper. Then it can be removed with turpentine and this is how it looks:

Now we can print the etching. The whole plate is covered in etching ink, and then the excess is removed leaving the ink in the engraved lines. The plate is 'polished' with newspaper to remove more of the excess ink.

Once this is done the copper is bright and shiny again:

The plate is laid on the etching press on top of a sheet of thin paper to prevent ink soiling the press.  Damp etching paper is laid on top with a final sheet of thin paper to absorb excess water so that the felt doesn't damage.

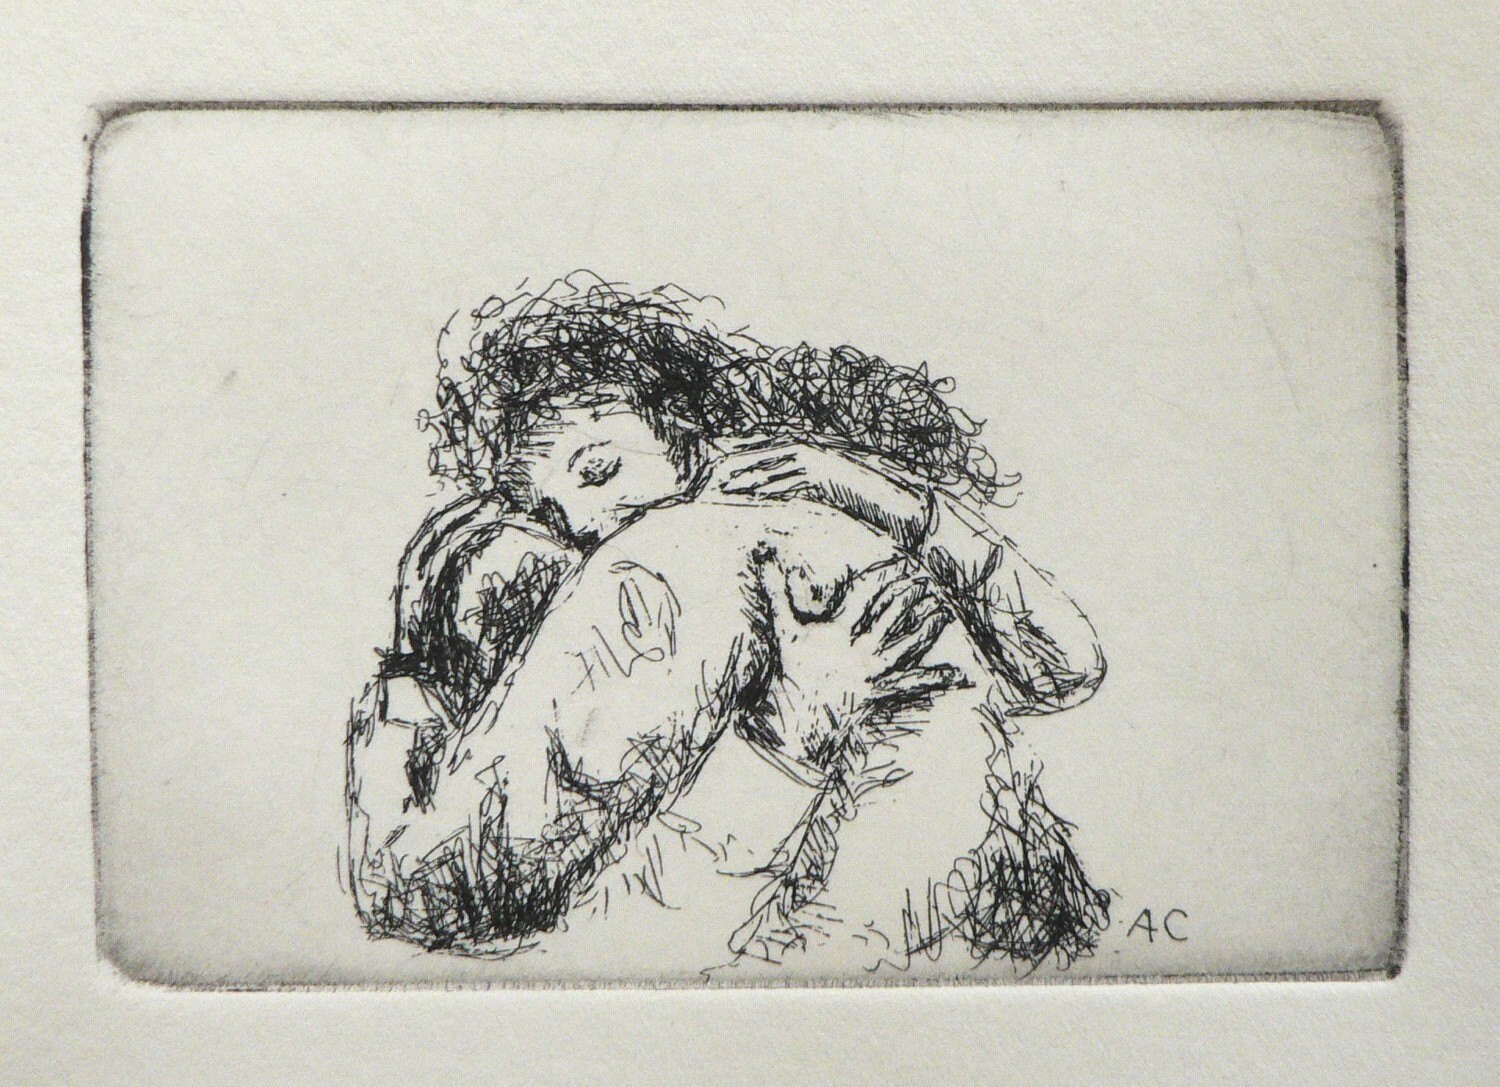
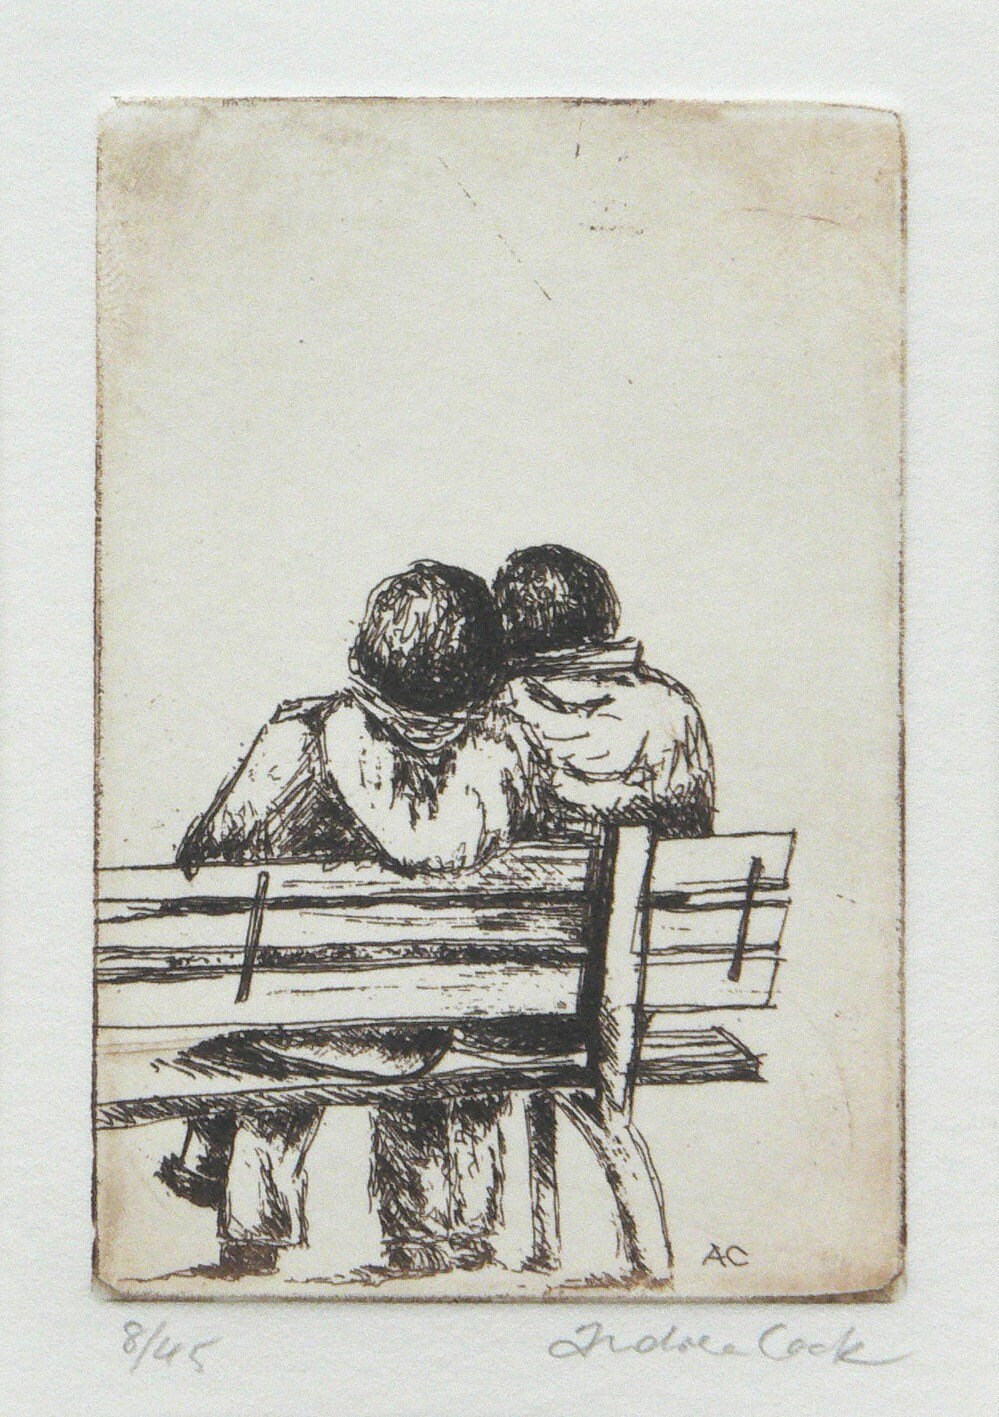
It's 'pulled' through the press in a steady and continuous movement, and voila! An etching! Every etching is re-inked and pulled through the press, one by one.


It can now be pegged up to dry. The paper will dry quickly but the ink will stay wet for a few days. Would you like to learn how to make etchings?